
甲骨文Oracle ARM服务器 利用VPS搭建自动抢服务器脚本 ,并通过Telegram发送成功通知
甲骨文Oracle ARM服务器 利用VPS搭建自动抢服务器脚本 ,并通过Telegram发送成功通知
John Doe甲骨文Oracle ARM服务器 利用VPS搭建自动抢服务器脚本 ,并通过Telegram发送成功通知
ARM服务器 自动抢服务器脚本,通过安装设置Terraform、oci-cli来配置甲骨文 自动抢服务器脚本。甲骨文提供的终身免费服务器,除了注册难度玄学之外,即便是注册成功,也很难抢到服务器,下面通过这个 ARM服务器 自动抢服务器脚本,来实时申请 ARM服务器。
1.安装Terraform
1 | wget https://releases.hashicorp.com/terraform/0.15.5/terraform_0.15.5_linux_amd64.zip |
解压,并移动文件terraform到/usr/bin目录
1 | unzip terraform_0.15.5_linux_amd64.zip |
使用以下命令查看版本
1 | terraform version |
显示如下则安装成功

2.安装oci-cli工具,使用以下命令安装oci-cli工具
1 | bash -c "$(curl –L https://raw.githubusercontent.com/oracle/oci-cli/master/scripts/install/install.sh)" |
一直回车即可当出现:

这个时候,是在提示你输入y回车,会自动添加环境变量,之后又是一直回车。出现如下提示表示安装成功。可以用:oci -v 查询版本

3.复制用户和租户的ocid
甲骨文后台右上角—用户设置—点击用户以及租户,在信息栏中有我们需要的ID,分别点击复制,可以保存在记事本备份好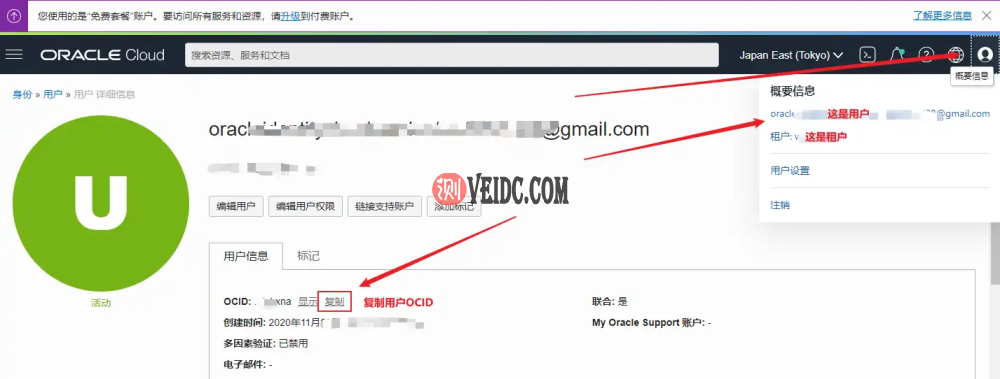
甲骨文 Oracle ARM服务器 自动抢服务器脚本!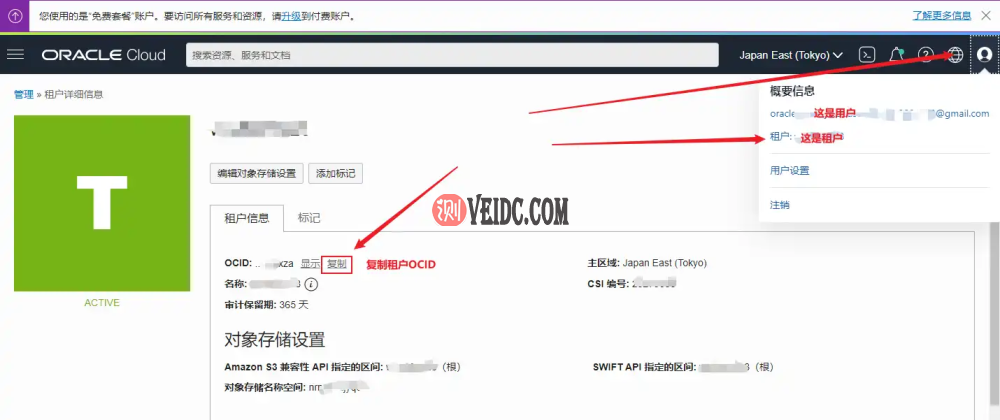
4.配置cli
输入如下代码开始配置,
1 | oci setup config |
配置的路径默认在root目录,具体配置看下面:
1 | Enter a location for your config [/root/.oci/config]:Enter a user OCID: #输入你的用户OCIDEnter a tenancy OCID: #输入你的租户OCIDEnter a region by index or name(e.g.1: ap-chiyoda-1, 2: ap-chuncheon-1, 3: ap-hyderabad-1, 4: ap-melbourne-1, 5: ap-mumbai-1,6: ap-osaka-1, 7: ap-seoul-1, 8: ap-sydney-1, 9: ap-tokyo-1, 10: ca-montreal-1,11: ca-toronto-1, 12: eu-amsterdam-1, 13: eu-frankfurt-1, 14: eu-zurich-1, 15: me-dubai-1,16: me-jeddah-1, 17: sa-santiago-1, 18: sa-saopaulo-1, 19: uk-cardiff-1, 20: uk-gov-cardiff-1,21: uk-gov-london-1, 22: uk-london-1, 23: us-ashburn-1, 24: us-gov-ashburn-1, 25: us-gov-chicago-1,26: us-gov-phoenix-1, 27: us-langley-1, 28: us-luke-1, 29: us-phoenix-1, 30: us-sanjose-1): 9 #这里选择你的区域Do you want to generate a new API Signing RSA key pair? (If you decline you will be asked to supply the path to an existing key.) [Y/n]: y #输入y生成公钥Enter a directory for your keys to be created [/root/.oci]:Enter a name for your key [oci_api_key]:Public key written to: /root/.oci/oci_api_key_public.pemEnter a passphrase for your private key (empty for no passphrase):Private key written to: /root/.oci/oci_api_key.pemFingerprint:Config written to /root/.oci/config |
1 | If you haven’t already uploaded your API Signing public key through theconsole, follow the instructions on the page linked below in the section‘How to upload the public key’: |
复制生成的公钥,使用以下命令获取公钥
1 | cat /root/.oci/oci_api_key_public.pem |
把显示出来的内容复制,并且添加到
甲骨文后台—用户设置—资源—API秘钥—添加API秘钥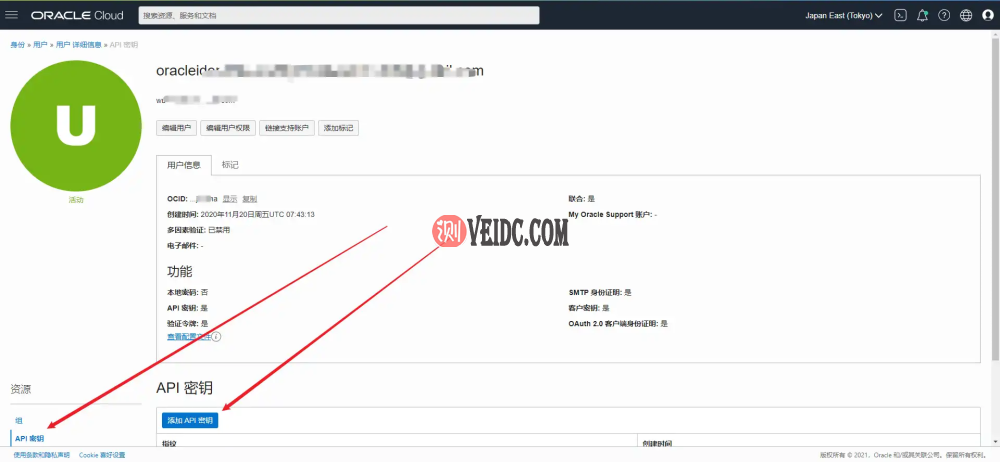
使用以下命令测试oci配置是否正确
1 | oci iam availability-domain list |
提示以下内容则是配置正确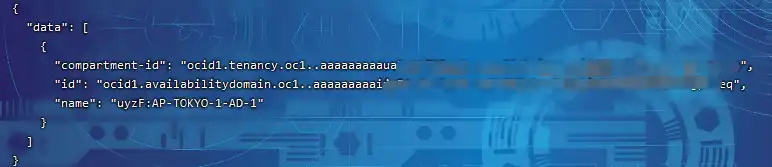
5.Terraform环境初始化
1、我们先获取甲骨文的Terraform脚本
点击 创建VM实例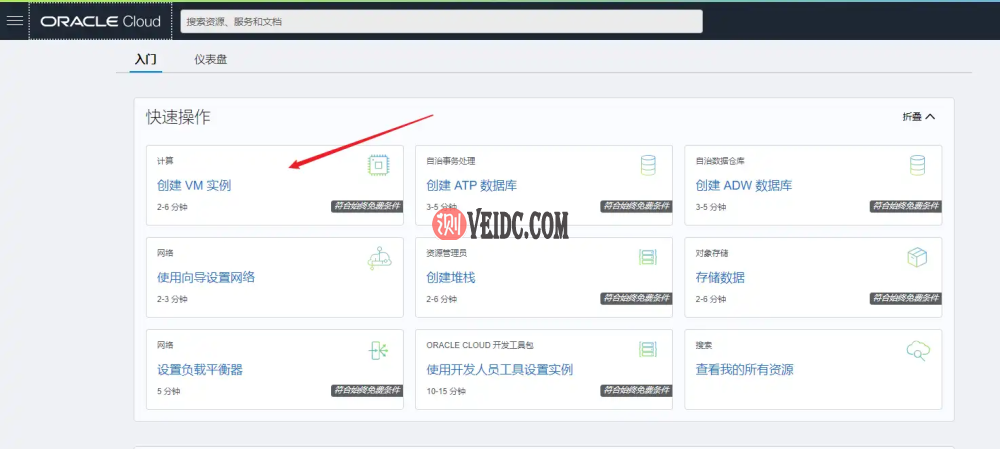
在这里选择你需要的配置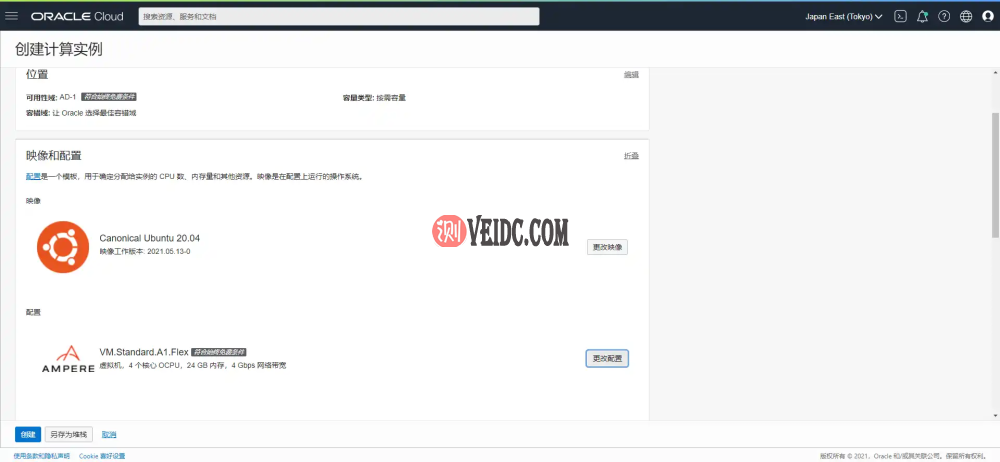
记得保存私钥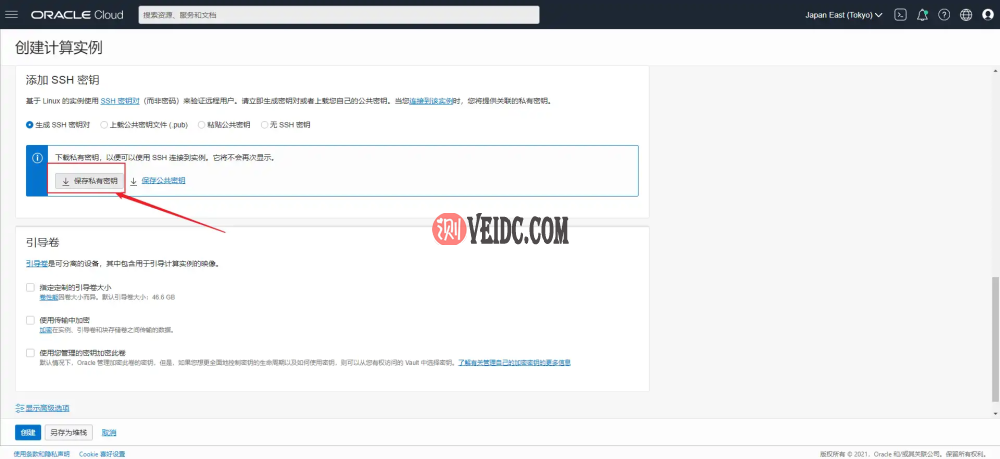
点击 另存为堆栈
一直下一步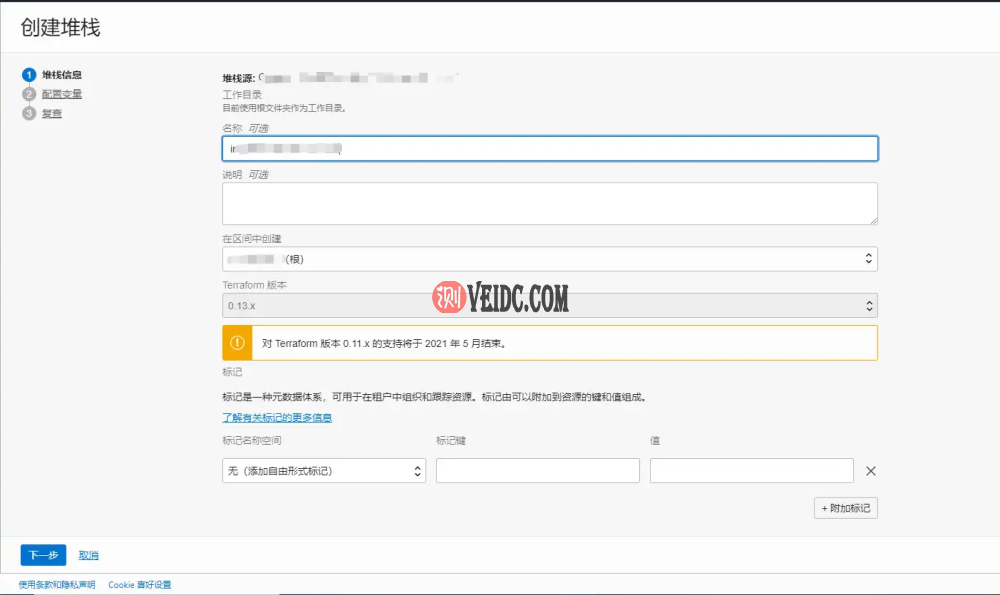
点击下载
将压缩包解压到桌面备用
6.配置Terraform
使用以下命令创建Terraform运行目录
1 | cd /opt/ |
将刚刚解压到桌面的main.tf文件 上传到这个目录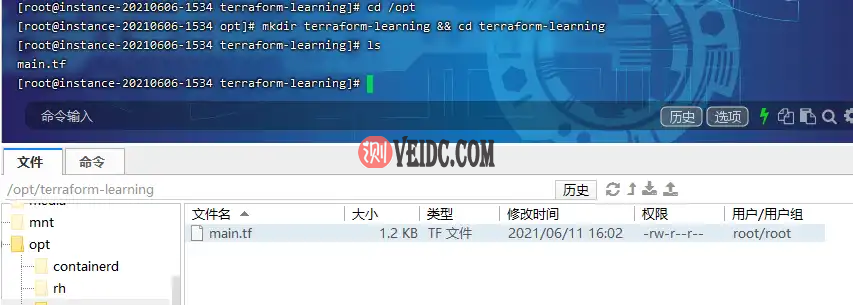
将目录设置为Terraform运行目录
1 | terraform init |
以上完成后,开始创建任务,用命令:(注意还是在/opt/terraform-learning)
1 | terraform apply |
执行完上面命令之后,会提示输入yes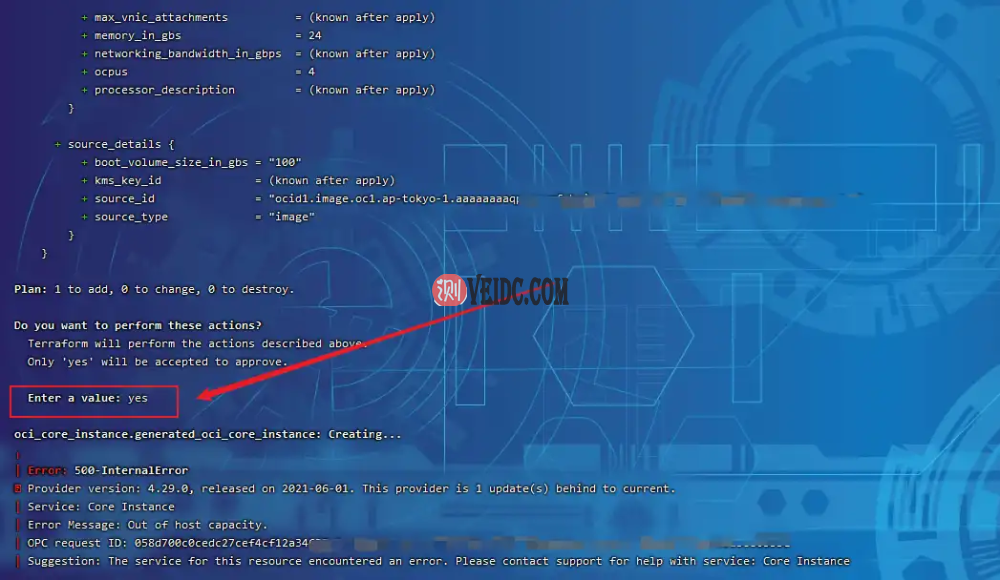
上图还能看到API返回Error Message: Out of host capacity,提示主机容量不足,下面就用脚本来不停刷就行了
7.部署脚本
终于可以部署脚本来抢服务器了,请先获取telegram账号id,并且关注通知机器人@oracle_message_bot
TG id请通过@userinfobot机器人获取
在root目录下新建一个terraform.sh
1 | cd /root |
写入以下内容
1 | #!/bin/bash |
给Shell脚本赋予执行权限:
1 | chmod +x terraform.sh |
使用以下命令后台执行脚本
1 | nohup ./terraform.sh >> terraform.log 2>&1 & |
- PS:
如何结束脚本?
使用以下命令结束脚本
1 | pkill terraform |